This guide walks you through installing and configuring the bunny.net WordPress plugin on your site.

Prerequisites

  • WordPress 6.7 or higher
  • PHP 8.1 or higher
The plugin will not appear in the WordPress plugin directory on earlier versions of WordPress or PHP.

Install the plugin

1

Open the plugin installer

Log in to your WordPress admin panel. Click Plugins in the sidebar, then click Add New Plugin.
2

Search and install

In the search box, type BunnyCDN. Find the BunnyCDN plugin in the results and click Install Now.
BunnyCDN plugin search results
3

Activate the plugin

After installation completes, click Activate.

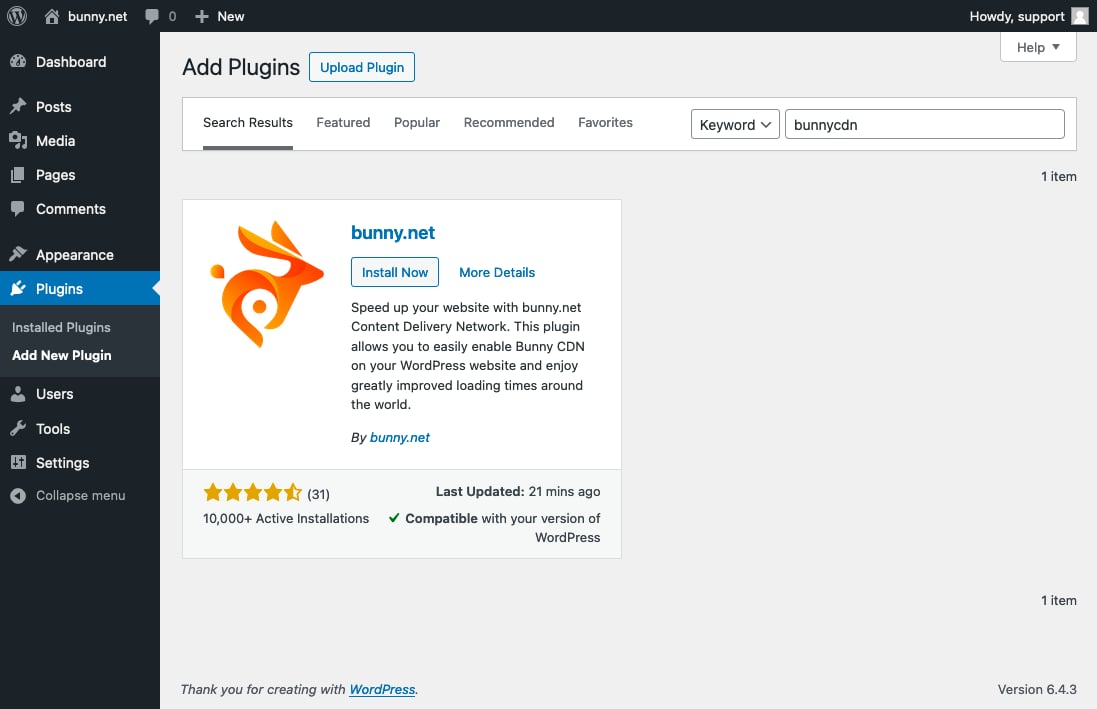
Configure the plugin

1

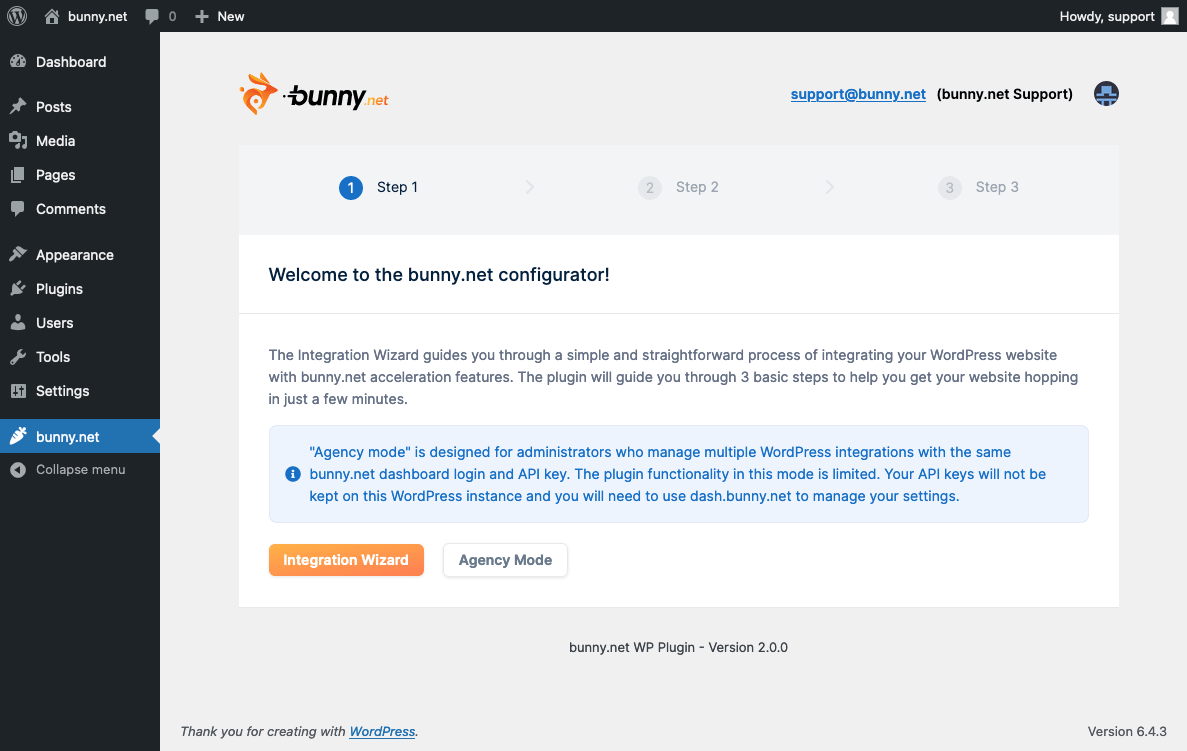
Open the plugin settings

In the WordPress sidebar, select bunny.net and click Login / Create Account.
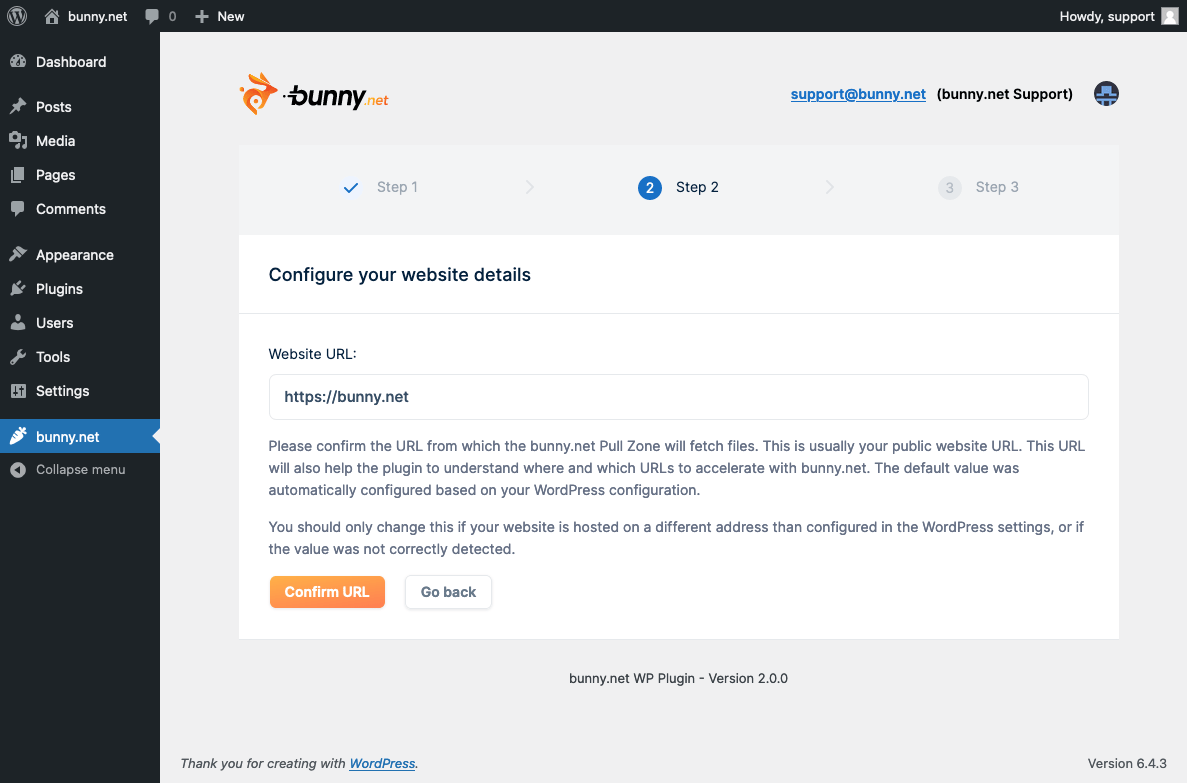
bunny.net plugin menu
2

Connect your account

Create a new bunny.net account or log in with your existing credentials.
3

Run the Integration Wizard

After logging in, select Integration Wizard.
Integration Wizard
4

Confirm your URL

Enter the URL of your WordPress website and click Confirm URL. The wizard uses this URL to configure your CDN integration.
Confirm URL
5

Select a Pull Zone

If your account already has a Pull Zone for this URL, you’ll be prompted to use the existing one or create a new one.
Setup complete
CDN acceleration is enabled by default once the setup completes. Your website will immediately start serving static assets through the CDN.
Last modified on April 13, 2026